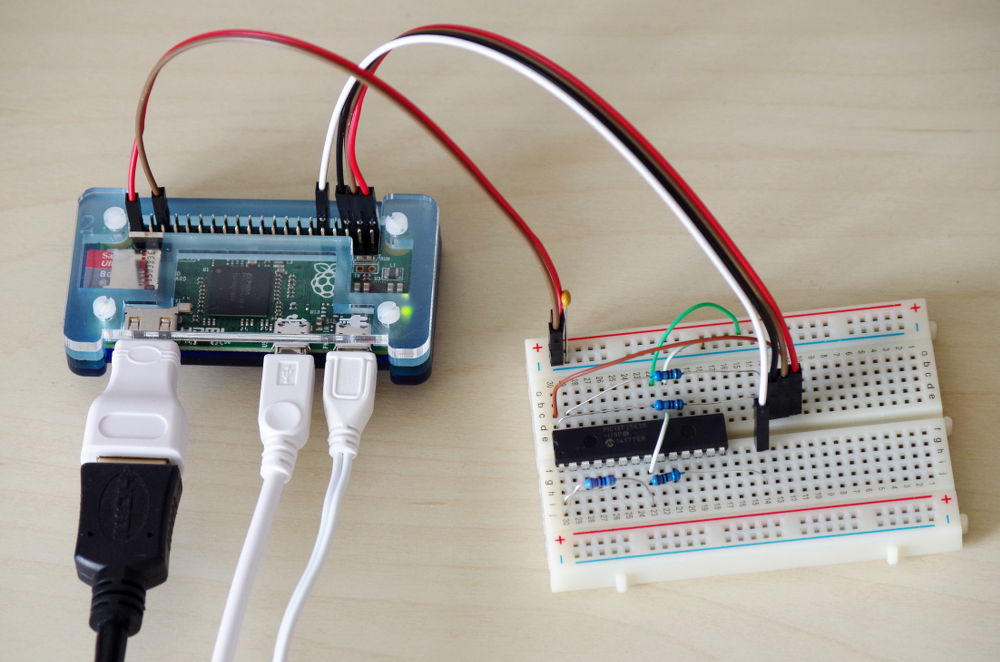
Programming PIC18F25K50 with Raspberry Pi Zero
First I would like to note that this is a blog post more describing the rationale behind this whole wheel re-inventing, than the actual programming. People quickly looking for the instructions how to program PIC18F25K50 with the Raspberry Pi Zero should look at the project page.
Some time ago, I have moved to a different country. As I took only the most important things with me, my faithful PICkit2 clone stayed at home (yes, warm jacket was a little bit more important). Now when I settled, I wanted to play a little bit with electronics again and create some simple wireless thermometer with the receiver connected through the USB. As I worked with PICs and USB previously, I decided to stay with the Microchip brand and try the newer PIC18F25K50 chip (compared to PIC18F2550 / 2455 I have used previously). These chips are ideal for USB experiments, because they are available in DIP. However to program the chip, I needed some programmer. One way would of course be to buy a genuine PICkit3, but as I had some new Raspberry Pi Zero laying in my drawer, I decided to go the more complex way…
The best way to understand something in depth is to simply dive deep and try creating something yourself. It is possible that there is already a better solution of what you plan to do, but who cares. The outcome of the process is not actually creating something which will fill some gap in the world, but understanding the whole problematic. So I downloaded the programming specification for PIC18F25K50 and started to play…

Good luck on your ways to understanding the microchip programming processes! And if you are interested in my results, you can find them, as mentioned earlier, on the project page.